The outdoorsy country girl in me has an untamed affinity for all things rustic and natural! So for my baby girl’s nursery decor, my husband and I decided that we needed to add our personal (home-made) touch. It was either going to be really good or really bad— and Praise God— it turned out magnificent!
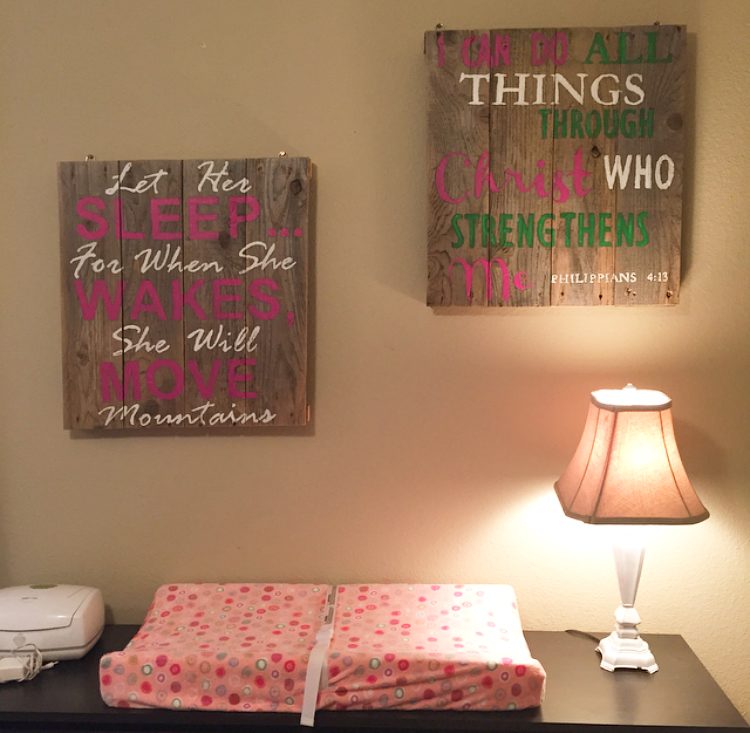
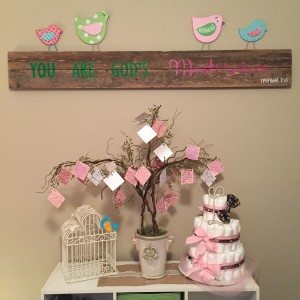
For a whopping $10 (cost of the paint), we were able to make 3 beautiful, authentic wooden signs that create a perfect, peaceful environment for our little Lorelai Elizabeth’s room. The Hubs and I both prayed and asked the Lord what phrases and scriptures would be best to be “spoken” over our daughter night and day. It was actually such a special experience hearing the Lord talk to us about her before she’s even arrived! Here are the steps for how we made the signs:
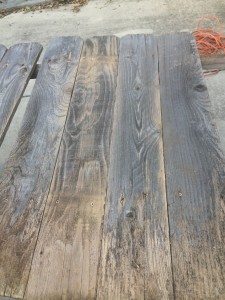
Step 1: We harvested some fence wood. It doesn’t take too much scouting in the greater San Antonio area to find some old fence wood heaped on the side of the road ripe (and FREE) for the DIY-er’s taking. So we loaded it up in the back of the van and took it straight home. (We recommend taking gardening or workman’s gloves on your scouting mission… We didn’t, and we regretted it!) We chose to do a little modification on the spacing of each picket—moving them as close together as possible for the best “canvas” and we sawed the wood into the dimensions we wanted for the wall. Then we used some 60 grit (rough) sandpaper to smooth down the entire surface of the painting area.
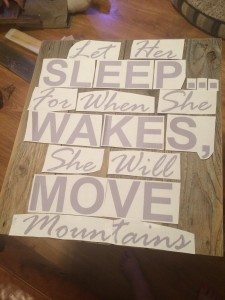
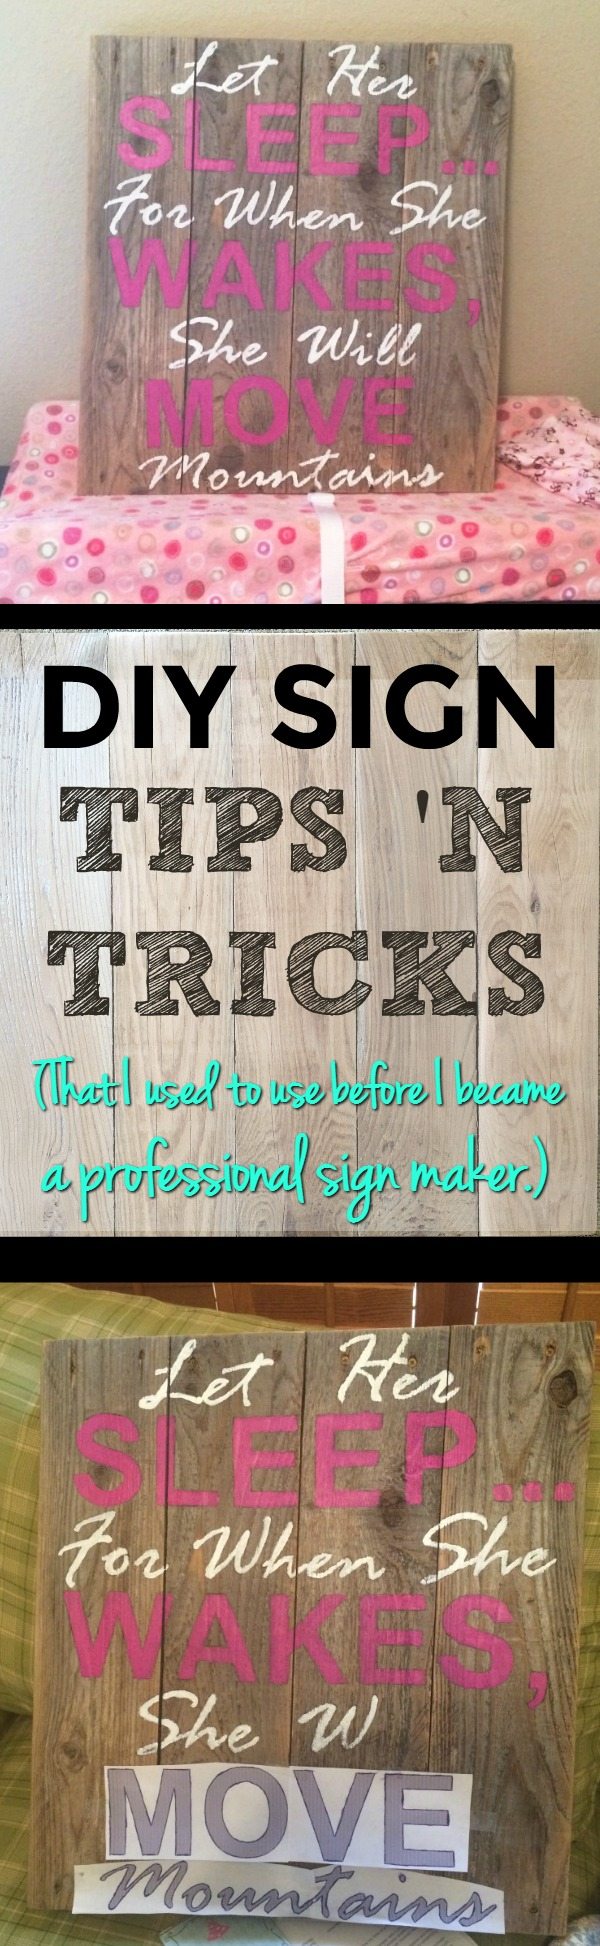
Step 2: We made our paper stencils. After some measuring of the wood canvas surface (to make sure we got the word size and spacing right), we picked our fonts and the layout of the wording and printed out all of the lettering from Microsoft Word. We cut out our paper stencils and did a practice run of the layout on the wood just to make sure everything fit properly. Once it was all in place, we shaded the back side of our home-made stencils with charcoal and then taped the stencils in place on the wood (charcoal side down) where the final letters would go.
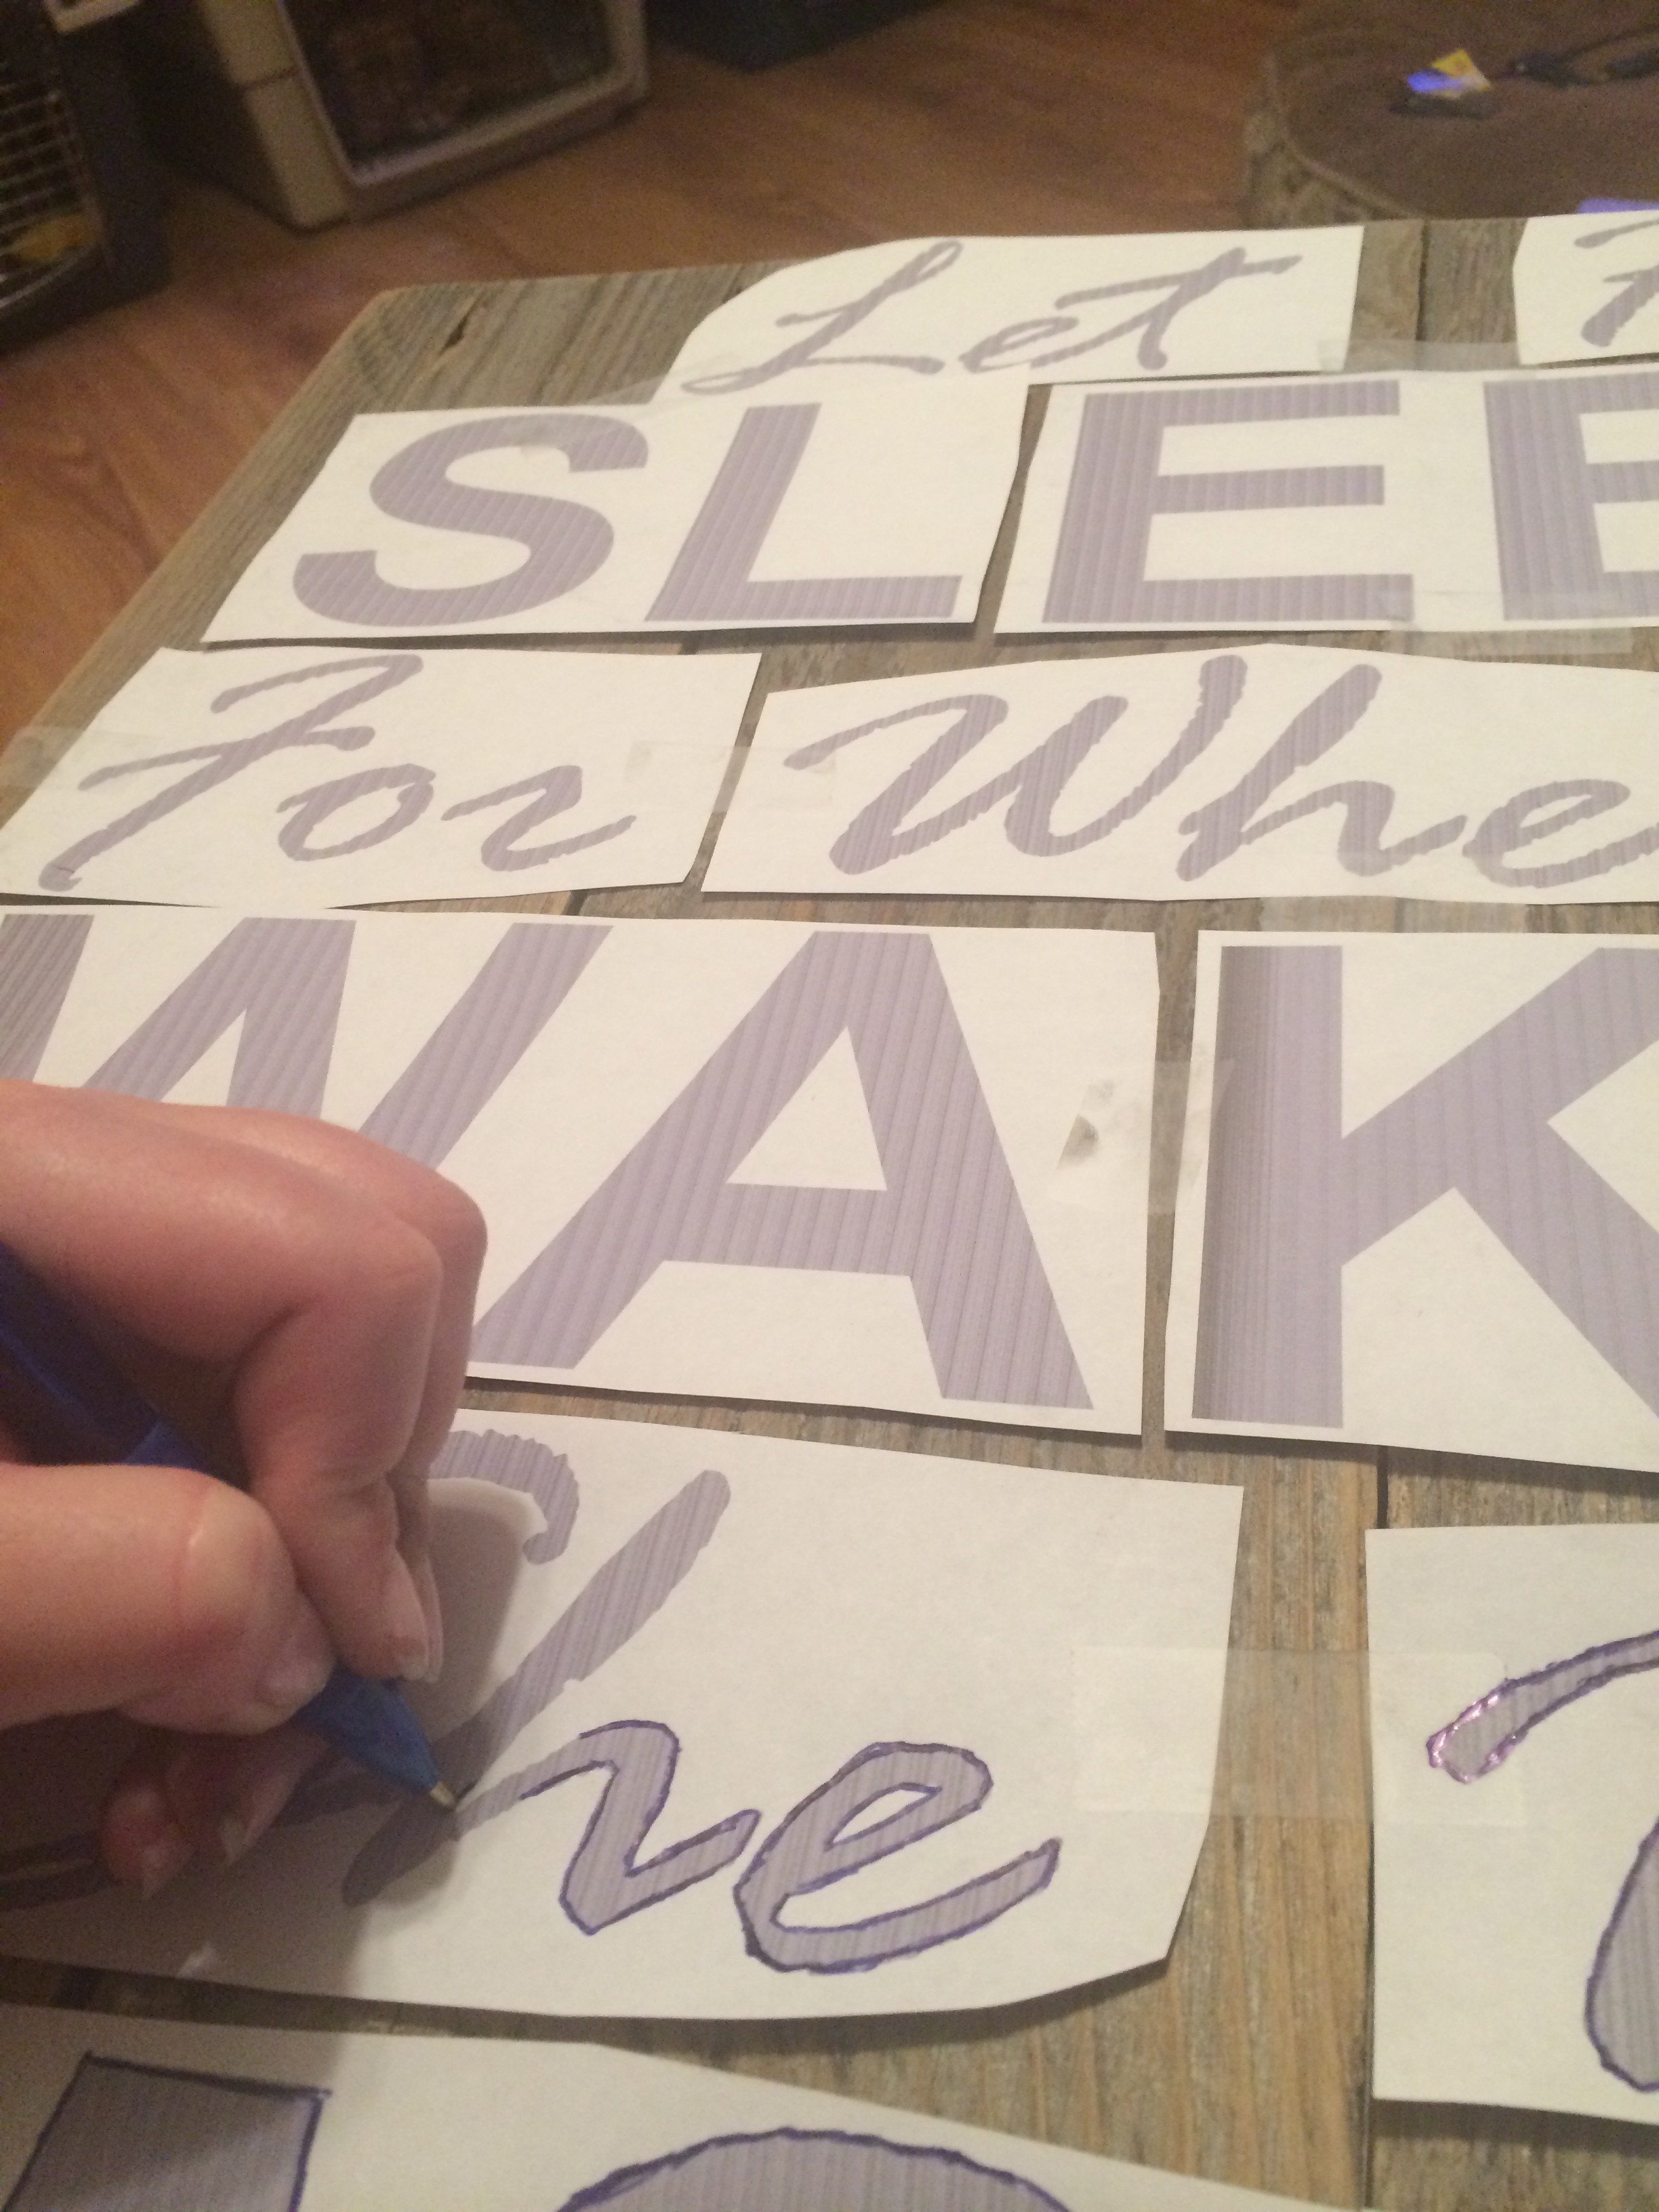
Step 3: We used our stencils to draw outlines on the wood. Using a pen, we thickly outlined each letter to make the charcoal on the back of the stencil paper imprint on to the wood. The charcoal outlines made for MUCH easier painting!
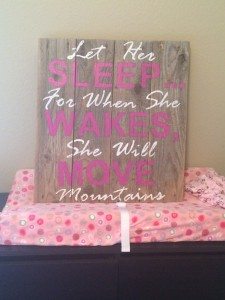
Step 4: Paint the letters! TIP— Start by peeling up just a corner of the stencils to make sure the charcoal left a visible outline. In some places we needed to darken it to make the outline as visible as possible. Then we pulled off the stencils one by one and painted inside the neat little charcoal lines. We let them dry overnight before adding the hangers to the back and putting them up.
![]()

Step 5: We added hangers to the back and hung up our masterpieces! Since our wood was rather heavy we used D ring hangers so they would be extra secure on the wall—especially since it’s a nursery and will have little people running around.
And that was it!! Please let us know if you try this out yourself! Tell us what sayings and scriptures you chose, how you found the wood, any tweaks you made to the process, and DEFINITELY send us your pics! 🙂
PIN THIS POST!